
You have a WordPress website. You're getting traffic, but you can't be online 24/7 to answer questions. What you need is a WordPress chatbot — one powered by AI that handles visitors automatically. No hiring, no contact forms that never get a reply.
An AI chatbot solves this. It answers automatically, around the clock, using the information from your own website. It doesn't make things up. It doesn't sound robotic. And the best part: you can install it in 5 minutes without touching any code.
Two Ways to Add a Chatbot to WordPress
There are two ways to install a chatbot on WordPress. Each one makes sense depending on what you need.
Option A: WordPress Plugin
You install a plugin from the WordPress directory (Tidio, WPBot, Collect.chat...). Everything is managed from the WordPress dashboard. It's convenient if you already have everything centralized there.
The problem: these plugins are heavy, they slow down your site, and they force you to configure dozens of options before you have anything working. Some don't even use real AI — just predefined flows like "if they say X, reply Y".
Option B: External Script
You use an external platform and paste a single line of code on your site. The chatbot loads from outside, doesn't consume your server resources, and is usually easier to set up.
This is the option we recommend if you want something lightweight, quick to install, and powered by real AI — a bot that understands questions and responds with your information, not canned replies.
What to Look for in an AI Chatbot for WordPress
Before choosing a platform, there are four things you should check.
- It trains on your content
A generic chatbot is useless. You need one that reads your website, your FAQs, your documents, and answers based on that information.
- No hallucinations
Many AI chatbots make things up when they don't know the answer. Look for one with RAG: it only responds if it finds the information in your data.
- Simple installation
If you need 45 minutes and a YouTube tutorial, something is wrong. Look for something that works with a single-line script.
- Customizable
Colors, response tone, welcome message. The chatbot widget should look like part of your website.
How to Install an AI Chatbot on WordPress Step by Step
Here's how to do it on your WordPress site with Bravos AI — it checks all four boxes above and we give you 7 days free of the full PRO plan to see it on your own site.
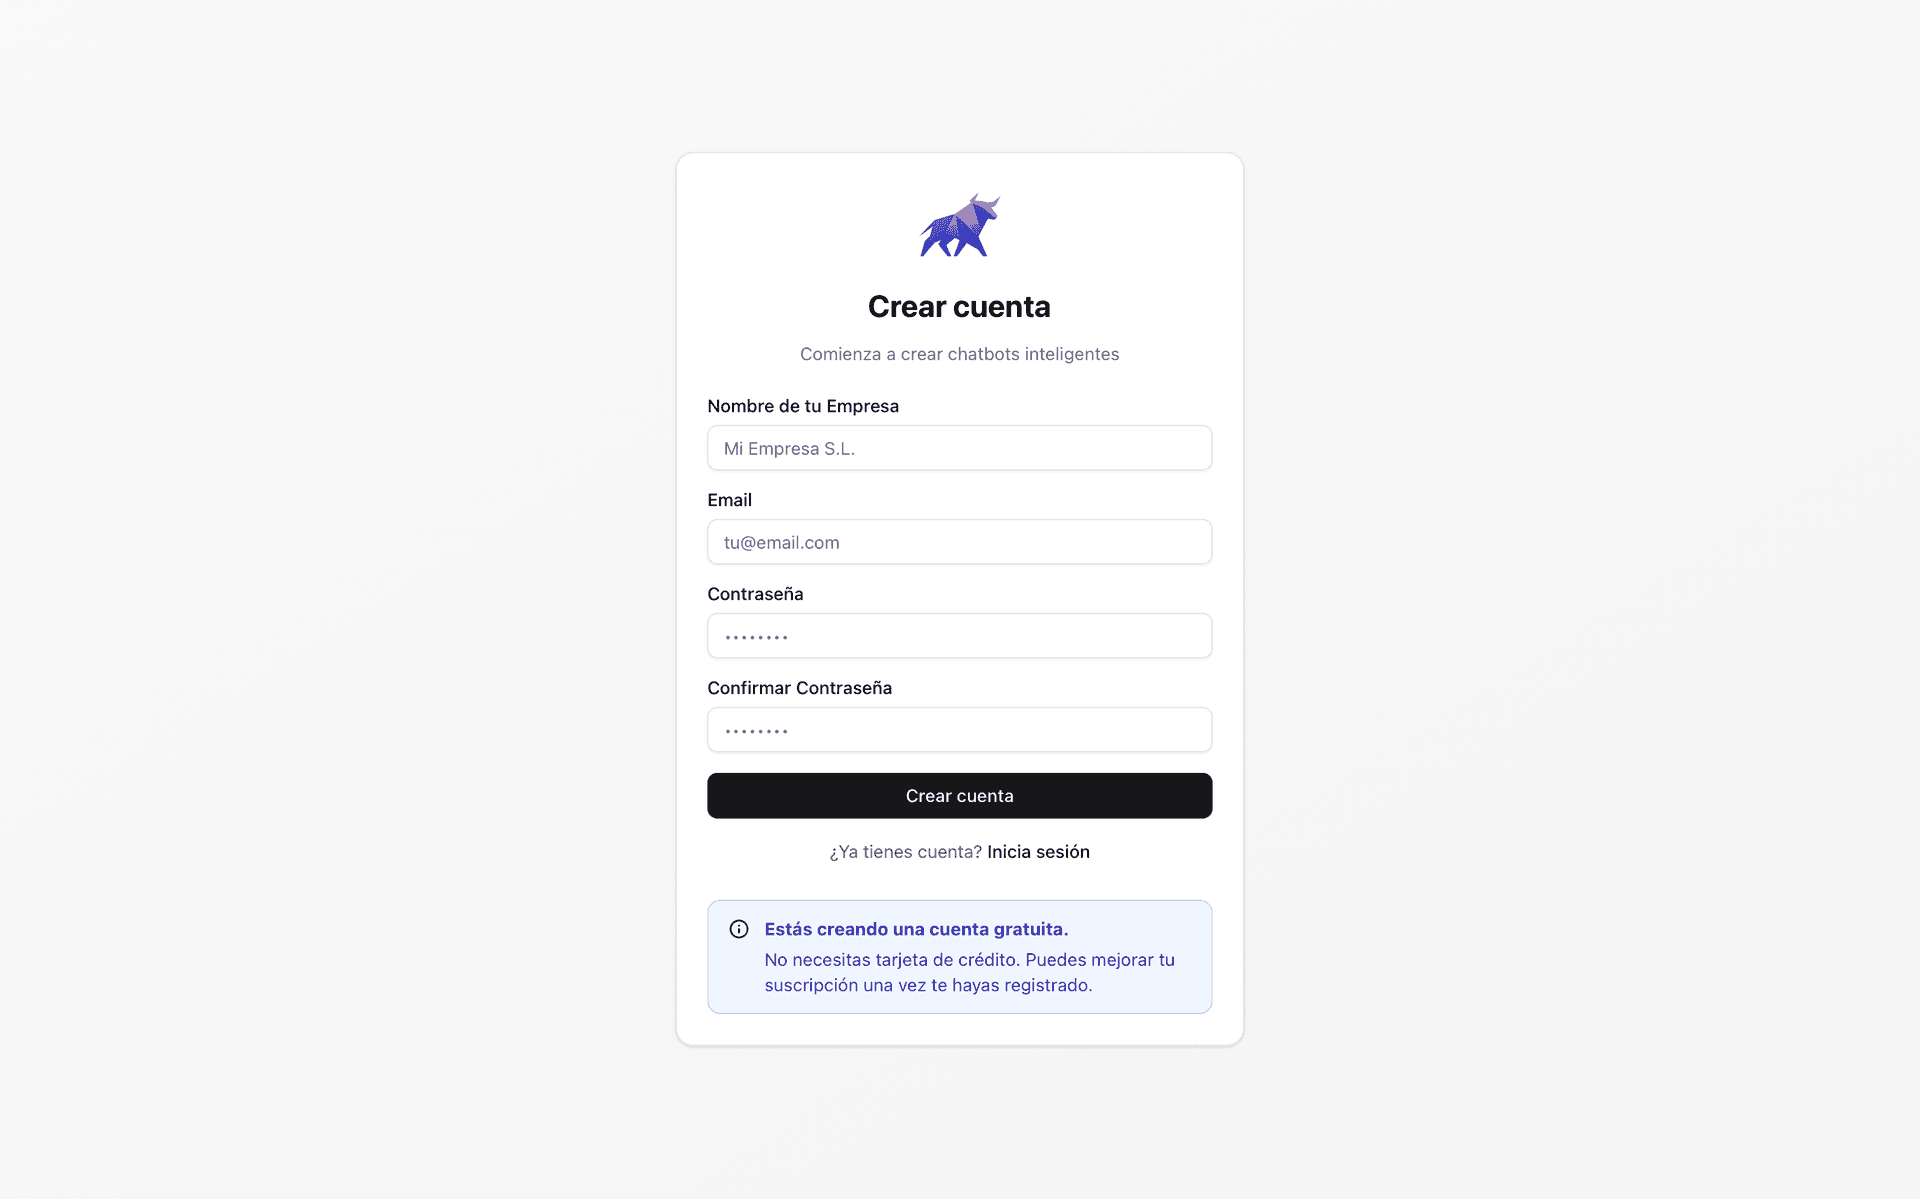
Step 1: Create Your Account
Go to bravos-ai.com and sign up. We give you 7 days free of the full PRO plan. We ask for a card to start the trial, we notify you before the first charge, and you can cancel in one click.
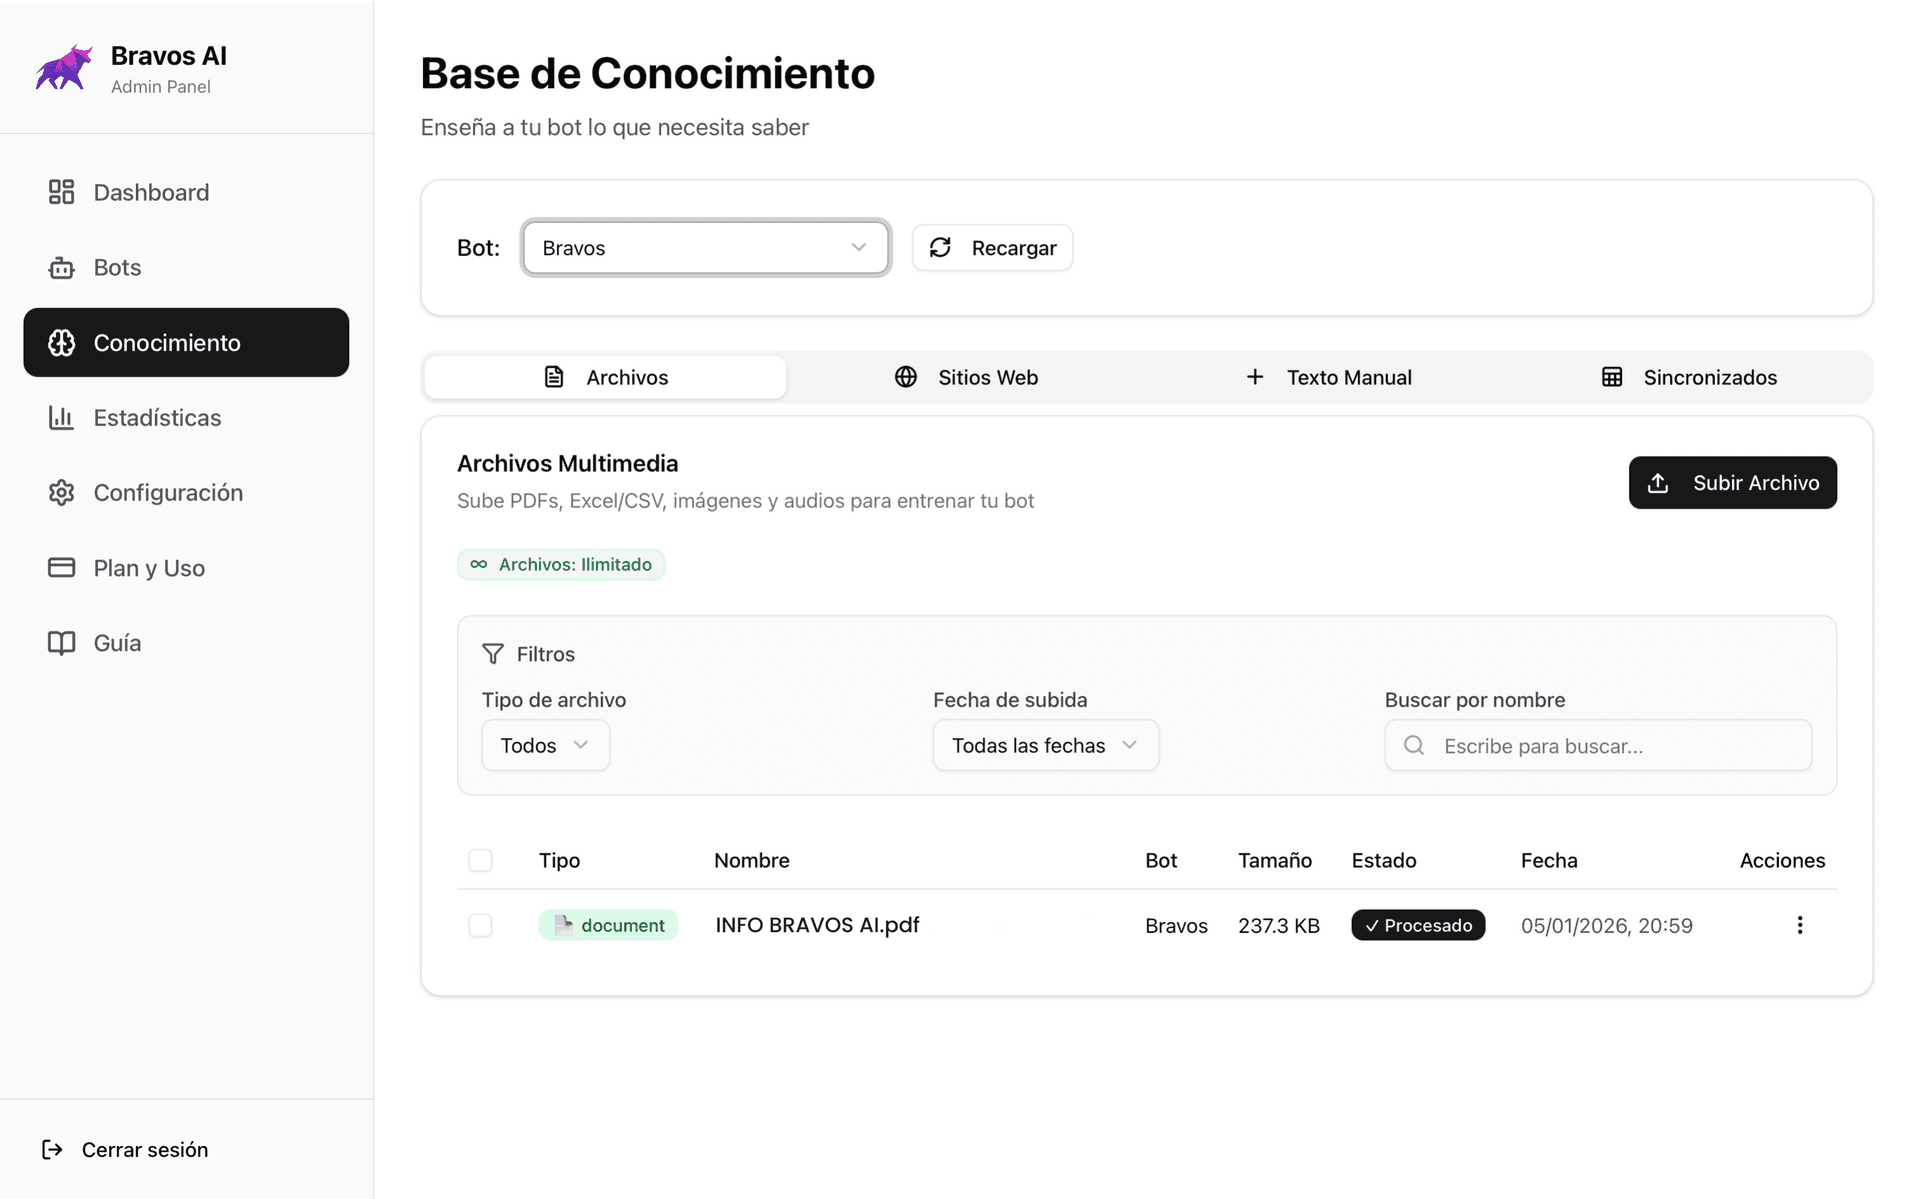
Step 2: Create a Chatbot and Train It
Give your chatbot a name and add your data sources. This is where most people make mistakes, so pay attention.
You have three ways to feed your bot:
- URLs from your website: The quick option. The bot scans the page and extracts the content. The downside: it also grabs headers, footers, menus... noise that clutters the context.
- PDF documents: The recommended option. Create a PDF with your FAQs, service descriptions, and policies. Clean content, no noise.
- CSV files: If you have a product or service catalog with names, prices, and features... a CSV is perfect.
If you want to dive deeper into why chatbots fail and how to fix it, we have a technical guide here.
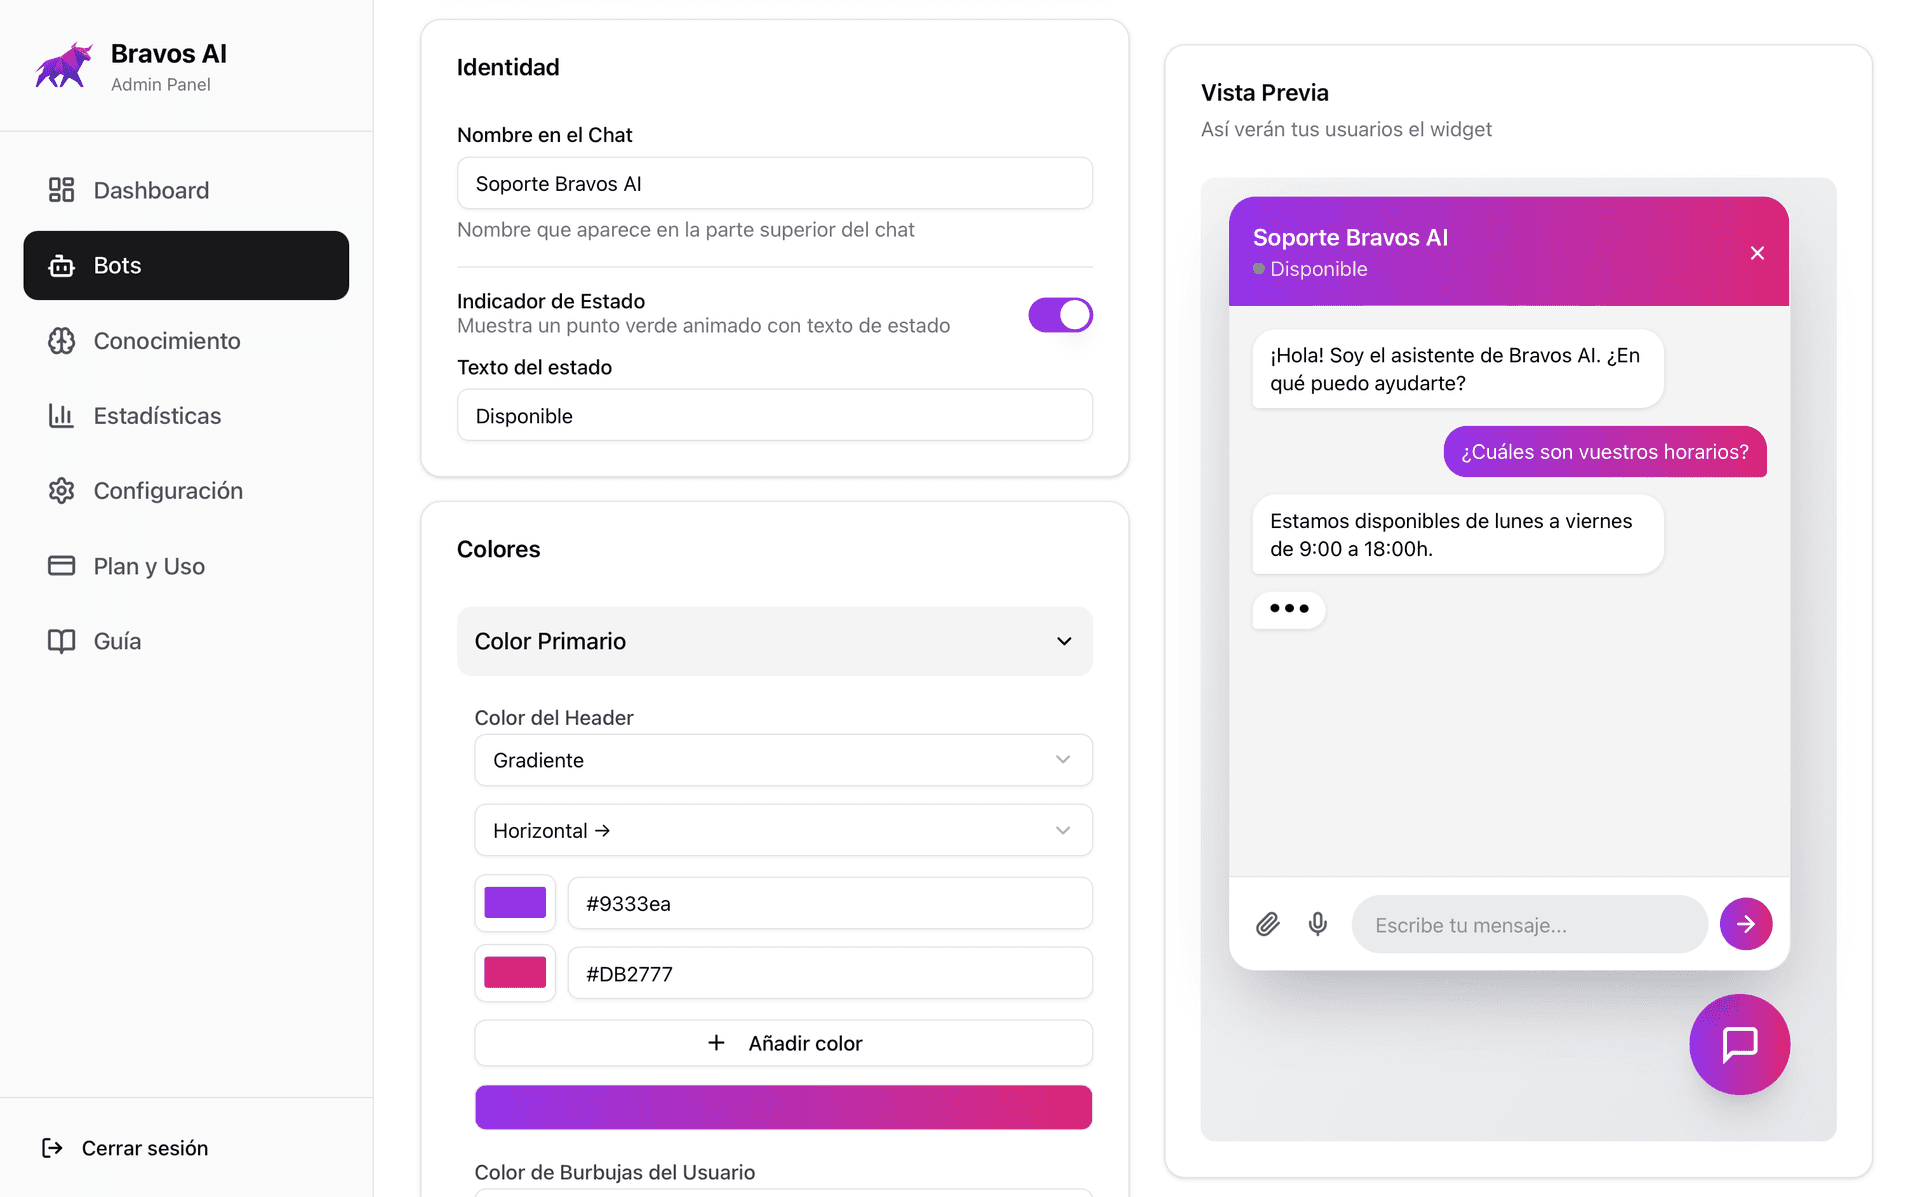
Step 3: Customize
Adjust the colors to match your brand. Write a welcome message that invites visitors to ask questions. Set the response tone — more formal if you're a law firm, more casual if you're an online store.
You can also add custom instructions: "Don't mention pricing unless asked", "Always suggest scheduling a call", etc. The bot follows them.
Step 4: Test It
Test your chatbot on the Bots → Preview page. Make sure that:
- It responds with your information, not generic answers
- It doesn't make up data you haven't provided
- The design looks good on both mobile and desktop
Step 5: Copy the Script
When you're done, go to the Bots → Embed Code page and the platform gives you a script. It's a single line of code like this:
<script src="https://api.bravos-ai.com/widget/your-token.js"></script>
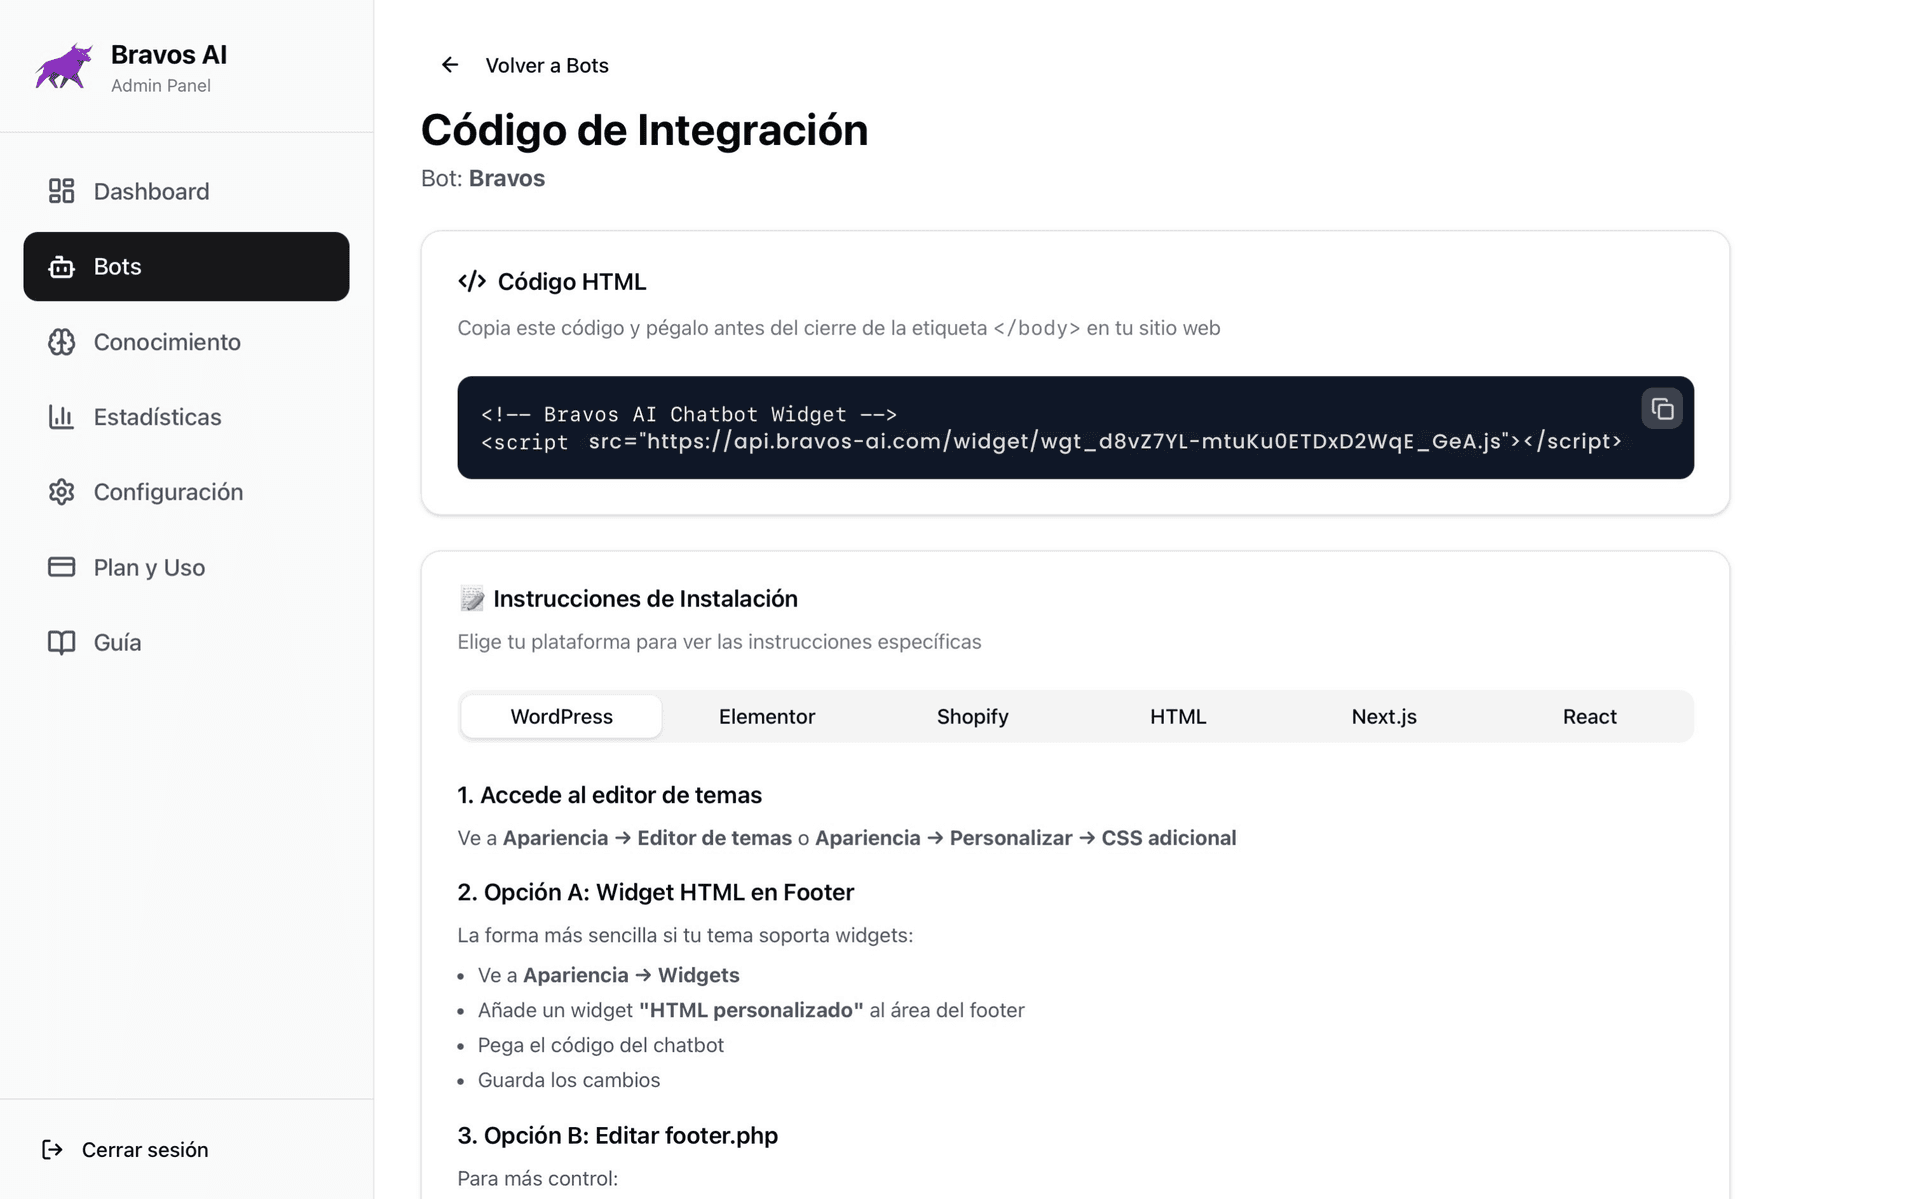
Step 6: Paste It in WordPress
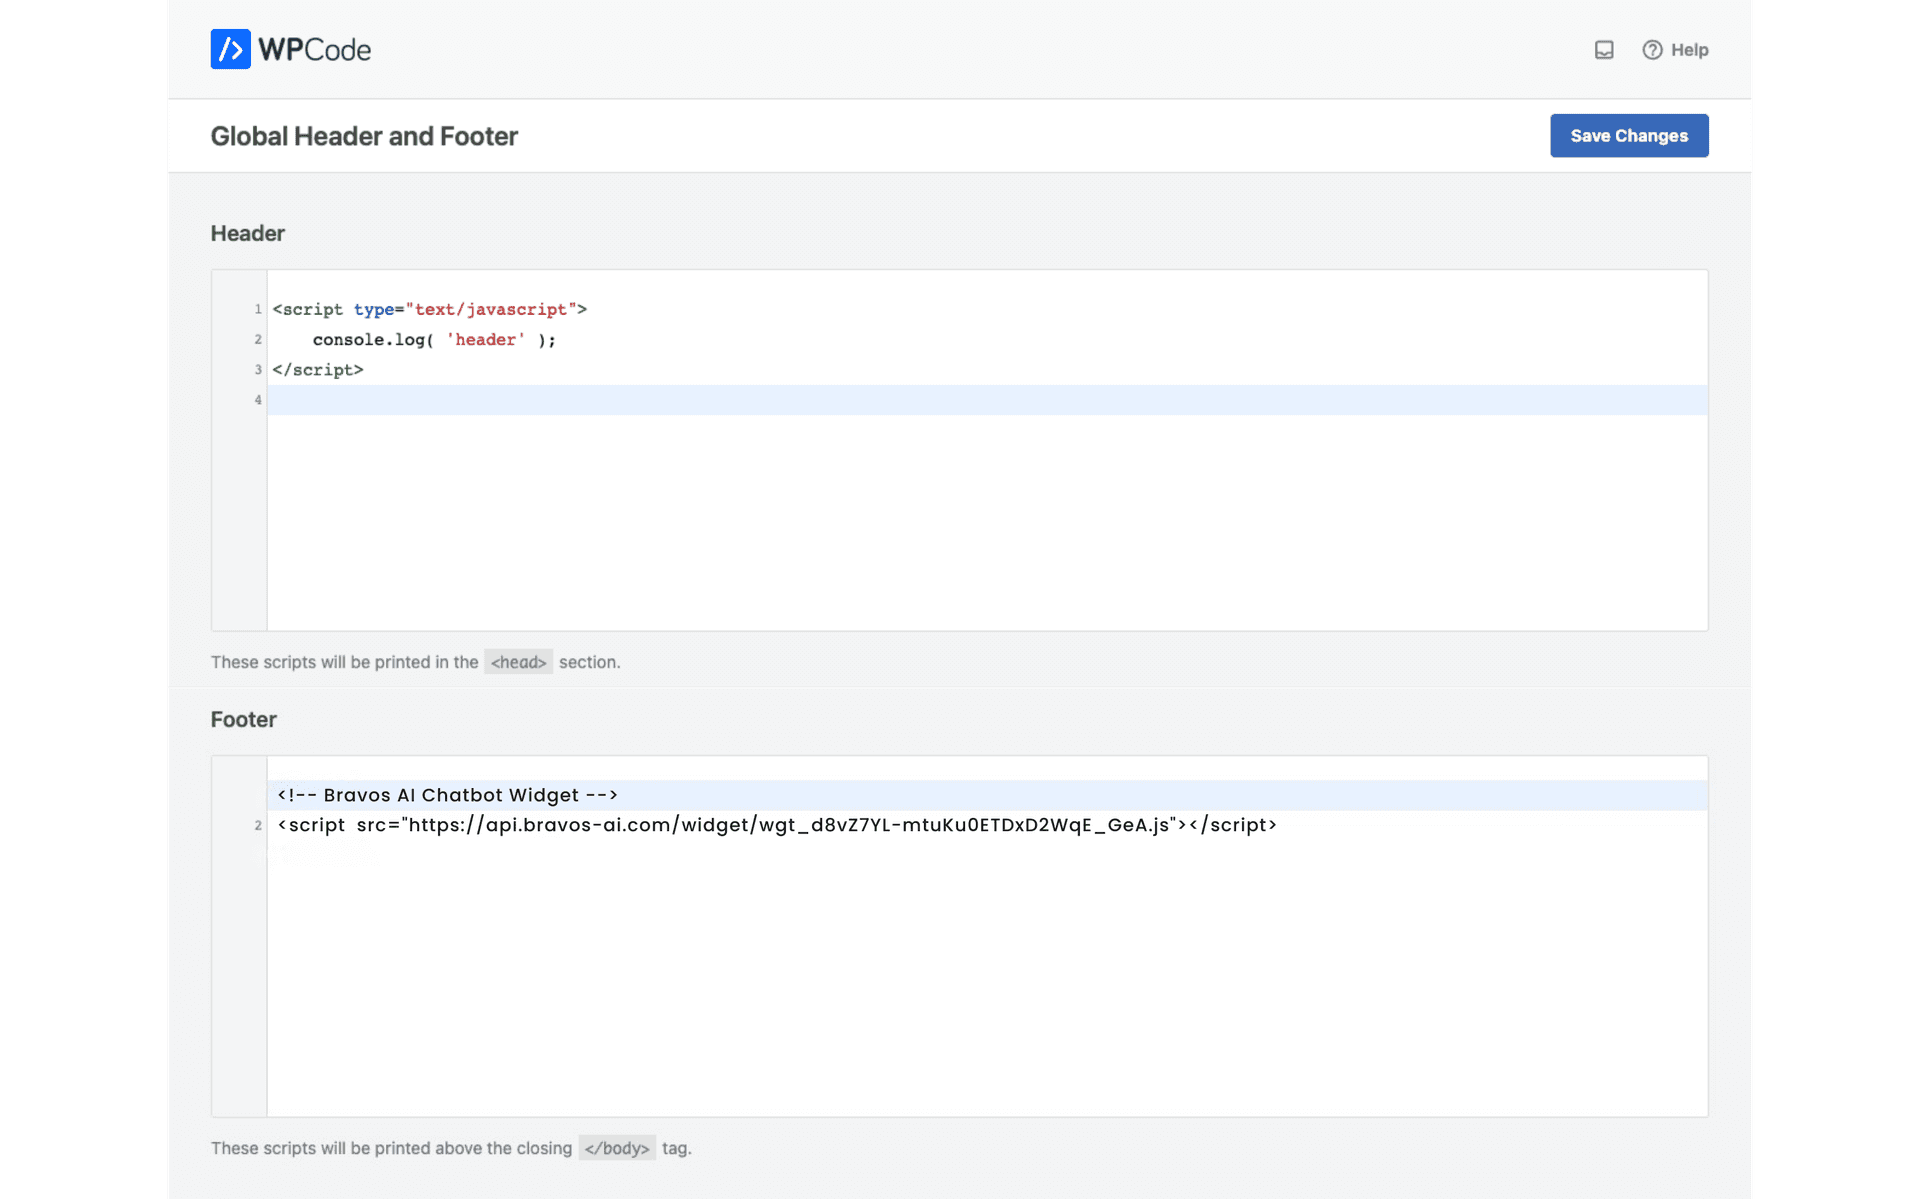
Option A: With a plugin (recommended)
Install "WPCode" or "Insert Headers and Footers". Go to the plugin settings, paste the script in the "Footer Scripts" section, and save. Works with any theme.
Option B: With a page builder (Elementor, Divi, etc.)
Go to the theme builder and edit your footer. Once inside Elementor, for example, add an HTML widget/block and paste the script inside it.
Option C: Editing footer.php (advanced)
Go to Appearance → Theme Editor → footer.php. Paste the script right before </body>. Note: if you update the theme, you'll lose this change.
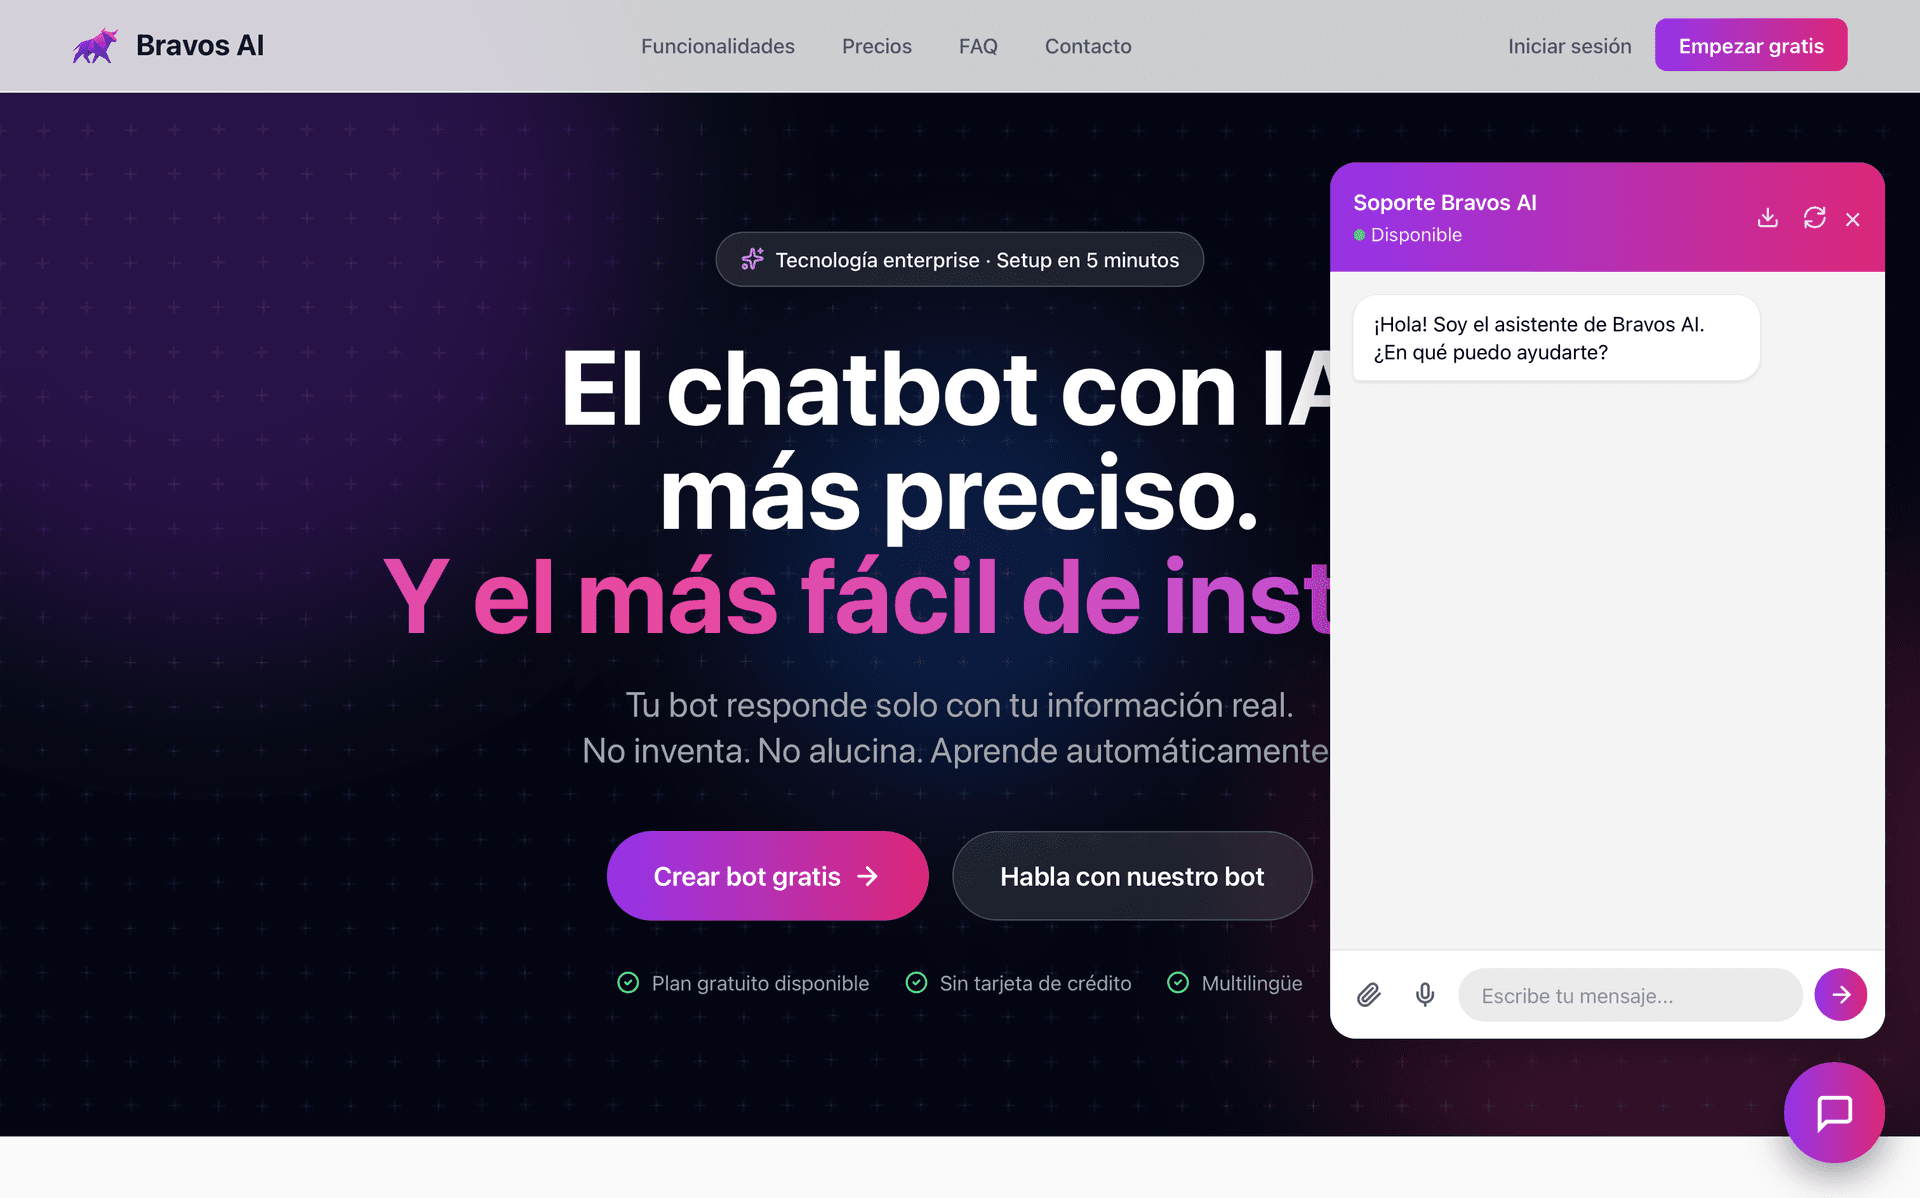
Step 7: Test It on Your Website
Open your website (outside of WordPress admin) and check that the chatbot widget appears and responds correctly. If it doesn't load, make sure the script is properly pasted.
Common Mistakes When Installing a Chatbot on WordPress
After seeing many installations, these are the most common mistakes.
Choosing a chatbot plugin that slows down WordPress
Some WordPress chatbot plugins load heavy scripts that hurt your page speed. If your site takes more than 3 seconds to load, you lose visitors. Before installing anything, measure your speed with PageSpeed Insights.
Not training the bot with your content
An untrained chatbot is a useless chatbot. If it only replies with generic phrases like "Thanks for your message, we'll get back to you soon", it adds no value. Spend 10 minutes uploading your information.
Set it and forget it
A chatbot is not something you install and forget about. Review the conversations every week. You'll find questions it can't answer — and that tells you exactly what information you need to add.
No fallback plan
What happens when the bot doesn't know something important? It should be able to redirect to email or a contact form. Always configure a fallback for cases it can't handle.
Conclusion: Your WordPress AI Chatbot in 5 Minutes
Adding an AI chatbot to WordPress is easier than you think. You don't need to code, you don't need heavy plugins, and you can have it running in minutes.
What matters is choosing a platform that trains on your content, doesn't hallucinate, and installs without complications.
WordPress Chatbot FAQ
Ready to try it?
Build your chatbot in 5 minutes and try the PRO plan free for 7 days.
Try PRO free for 7 days